CNC mechanical processes

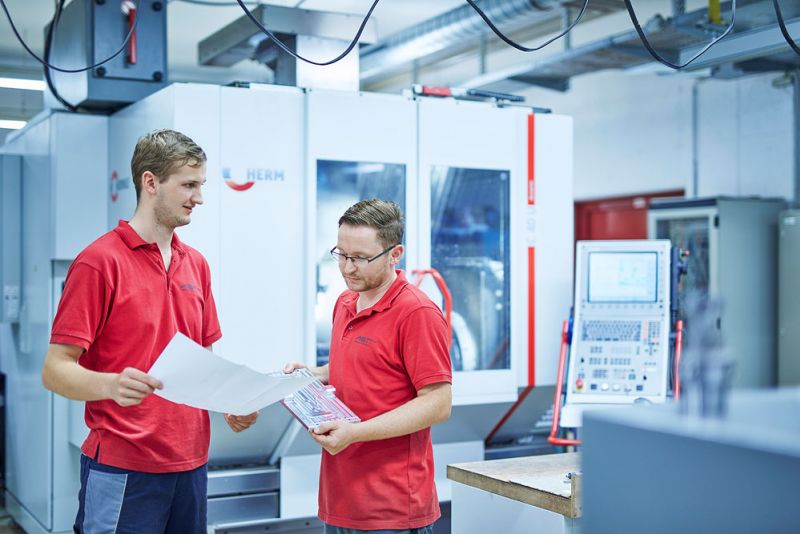
Mechanical manufacturing at A.S.T. is specialized on chip-removal machining using the latest CNC lathes and milling centers. In addition to prefabrication for force-measurement and weighing technology, our manufacturing technologies and assembly services are used by numerous partners.
Our range of services encompasses the development and manufacturing of partial and complete solutions as well as support from our in-house customer-services team. This includes machined parts from fast prototyping to series manufacturing for research and industry, also in special materials, as well as design consulting for development and production.
We are ISO 9001:2015 certified.
You can find more detailed information about our machines by clicking on the respective areas:
| Machining dimensions | ||||
| x | y | z | ||
| CNC milling machine DMG, DMU50eVo linear |
Spindle 18.000 U/min, 5-axis machining, zero-point clamping system |
500 | 450 | 400 |
| CNC milling machine DECKEL-MAHO, DMU80T |
Spindle 10.000 U/min (steel), dividing head | 800 | 630 | 550 |
| CNC milling machine DECKEL-MAHO, DMU80T |
Spindle 18.000 U/min (aluminum), multiple clamping device with approx. 50 clamping positions |
800 | 630 | 550 |
| CNC milling machine HERMLE C 40 U | Reversible clamping device + tailstock | 850 | 700 | 500 |
| CNC milling machine HERMLE C 40 dynamic | 5-axis machining, additional tool magazine, tool measuring device |
850 | 700 | 500 |
| CNC milling machine HERMLE C 20 U | Reversible clamping device + tailstock, tool measuring device |
600 | 450 | 450 |
| Machining dimensions | ||
| CNC lathe MAZAK QTN-200 | C-axis, Y-axis, power-driven tools | Ø 200 x 200 |
| CNC lathe GILDEMEISTER, CTX520 linear |
C-axis, Y-axis, power-driven tools | Ø 350 x 600 |
| CNC lathe GILDEMEISTER, CTX400 | C-axis, power-driven tools | Ø 280 x 400 |
| CNC lathe DMG, CTX 310 V6 |
C-axis, Y-axis, power-driven tools, rear end machining |
Ø 40 x 200 |
| CNC lathe DMG, CTX alpha 300 | Barfeeder, C-axis, Y-axis, power-driven tools | Ø 10 x 150 |
| CNC lathe EMCO MaxxTurn 25 | Barfeeder, C-axis, Y-axis, power-driven tools | Ø 1 x 100 |
| Servo engine lathe Weiler C30 | Ø 160 x 750 |
| Machining dimensions | ||||
| x | y | z | ||
| Surface grinding machine | Stöckel FX60/30 SPS | 600 | 250 | 400 |
| Vibratory bowl feeder | TROVI 16 | 500 | 150 | 150 |
| Spray-flood cleaning system | MAFAC, SF 60.40 | 600 | 400 | 285 |
| Ultrasound cleaning system | FRANKE, Transsonic 780/4 | 100 | 100 | 200 |
| Belt sander | MBSM 150-200-2 | 150 x 700 | ||
| Metal band automatic saw | MEBA, 407A-OV | 407 x 407 | ||
| Metal band automatic saw | KASTOwin A 3.3 | 330 x 350 | ||
| Glass beads | Suction blast cabinet RA-30 | 0 – 250 µm | ||
| Corundum | Blast cabinet | 44 – 1190 µm | ||
| Laser welding | ||||
| Anodizing, hard anodizing, case-hardening, induction hardening, plasma nitriding, coating, | ||||
| chromating, electrical discharge machining, clean room cleansing, as well as Corrotect, Parylene, Balinit and | ||||
| ceramic coating by proficient partners. | ||||
| Machining dimensions | ||||
| x | y | z | ||
| Measuring center ZEISS, CONTURA G2 | 5-axis scanning | 1000 | 1200 | 600 |
| Measuring center MITUTOYO, EUR-C544 | 3D-coordinate measuring machine | 500 | 400 | 400 |
| Profile projector | MITUTOYO, PJ300 | 200 | 100 | 100 |
| Hardness tester | COMPUTEST SC | 0 – 70 HRC | ||
| Surface roughness measuring device | MITUTOYO SURFTEST SJ210 | |||
| CAD programming system TOPSOLID | ||||
